EESP AI Installation
The NPC AI used RASA and RIVA developed by NVIDIA. This feature is mostly a proof of concept is will not be practical for most training due to its hardware requirements and difficulty to modify for different trainings.
Installation Instructions (Windows)
Install Windows 11 22H2 or later
Install NVIDIA drivers (https://www.nvidia.com/download/index.aspx)
Install Windows Subsystem for Linux (WSL 2)
– Open Powershell and type wsl --install – Check version with wsl -l -v, should output v2
Install latest Windows 11 updates
Install Docker Desktop v5.15 or later
– Check Settings/General: Use the WSL2 based engine – Check Settings/Resources/WSL Integration: Enable integration with my default WSL distro – If needed check additional distros
Open WSL:
– Update Ubuntu:
sudo apt-get update && sudo apt-get upgrade– Check WSL GPU capability by runningnvidia-smi, should output GPU information – Check docker GPU capability:docker run --gpus all nvcr.io/nvidia/k8s/cuda-sample:nbody nbody -gpu -benchmarkshould output some performance measurements– Go to: NVIDIA NGC and create an account and verify via email address [IMAGE 1]

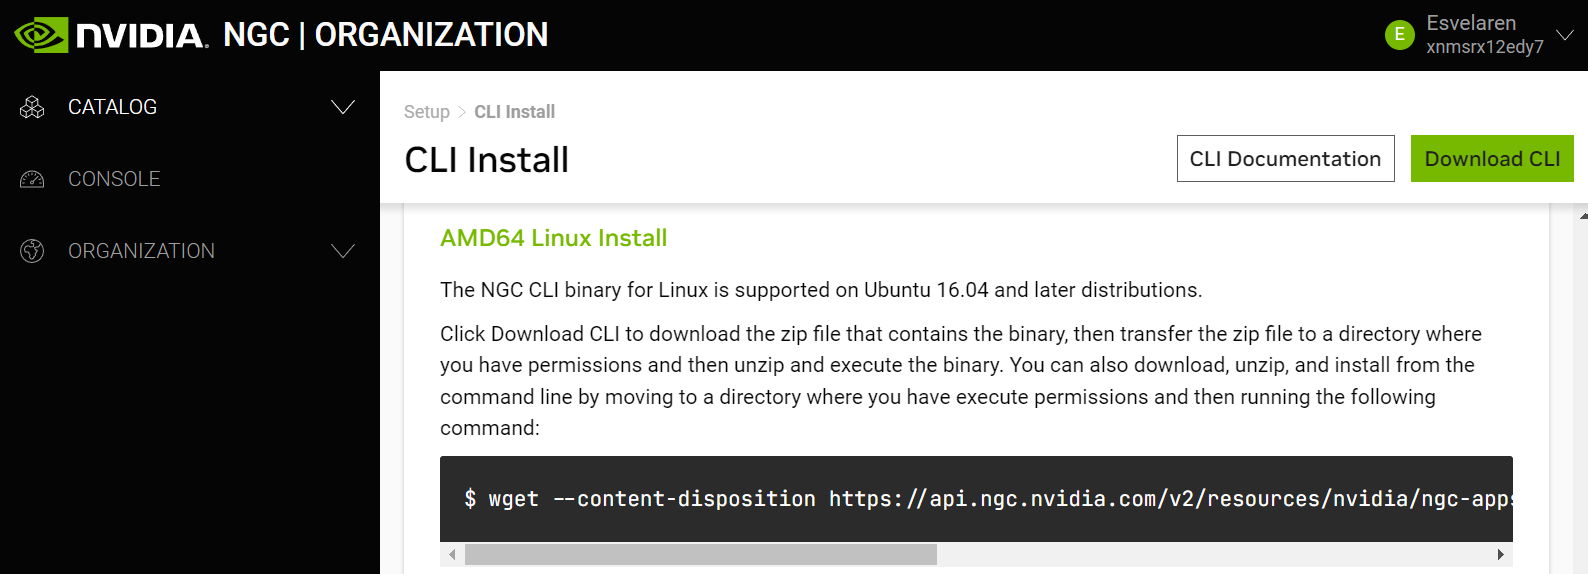
– Download and setup ngc cli linux https://ngc.nvidia.com/setup/installers/cli
You can install it using the series of terminal commands shown in the previous link. Don't forget the last step shown where you need to
ngc config setusing the API key. This key can be found by going to the Profile/Setup tab and then clicking on generate API key (https://org.ngc.nvidia.com/setup/api-key)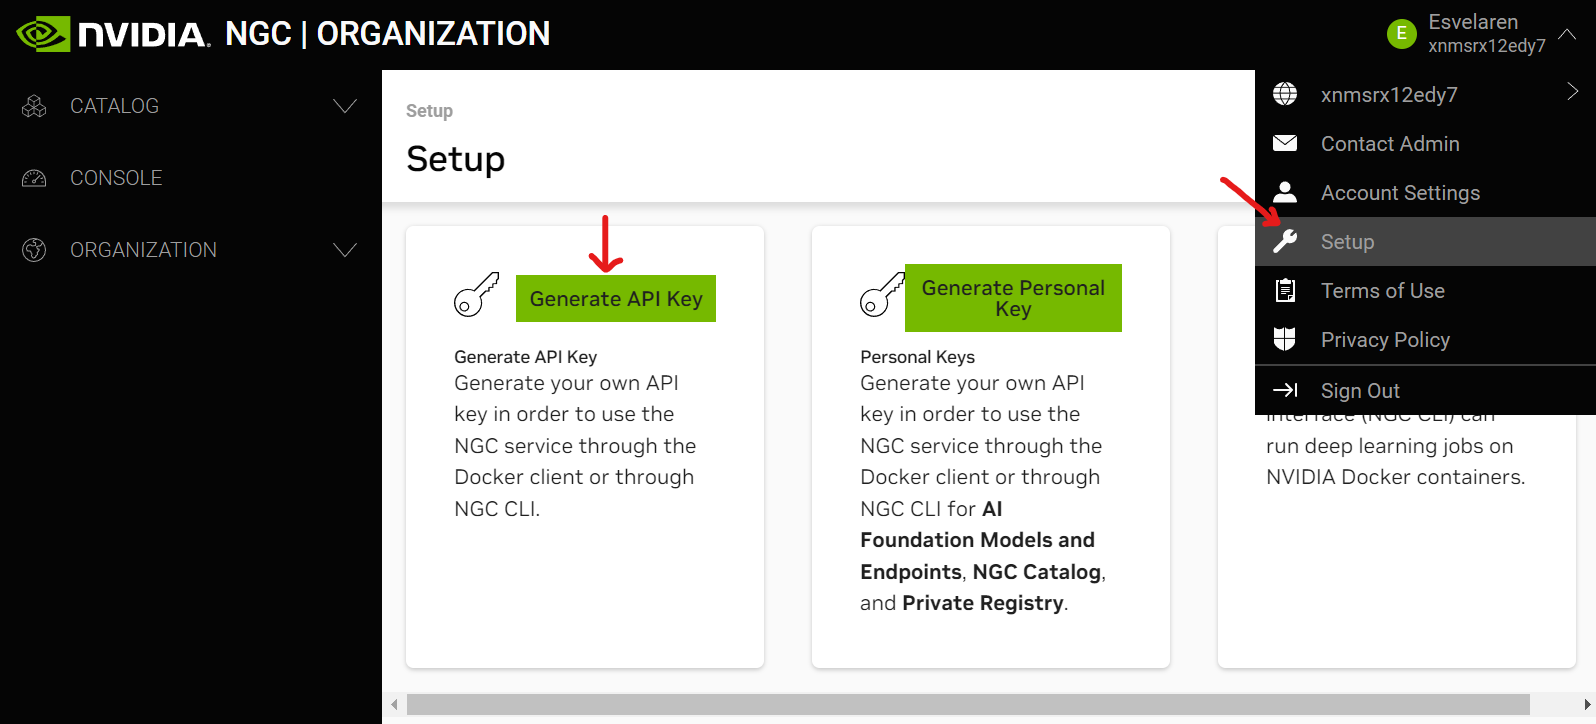
Enter the API key to the ngc config set command once generated.
– Make ngc available from path export PATH=~/ngc:$PATH into .bashrc and restart shell
– In WSL make sure you are located in /home/altheria. Now with an ngc account you can download the latest RIVA quickstart:
ngc registry resource download-version nvidia/riva/riva_quickstart:2.15.0
This downloads version 2.15. For newer versions refere to https://docs.nvidia.com/deeplearning/riva/user-guide/docs/quick-start-guide.html
– Change directory to the downloaded quickstart directory and open the config.sh, then set service_enabled_nlp=false.This also speeds up initialization of Riva and uses less space.
– Run bash riva_init.sh to initialize Riva. This may take up to 40 minutes and should finish with a message, that the initialization was complete
– Load the rasa_server image into docker. Use this command Linux docker load < rasa_server_latest.tar.gz, (you can also do so from windows terminal with docker load -i rasa_server_latest.tar.gz)
Locate the directory in which WSL is storing the data and go to
/home/altheria/riva_quickstart_v2.15.0/. There you can paste the script from this repo namedrun_rasa.shinto that riva folder.In this same folder
/home/altheria/riva_quickstart_v2.15.0/paste the folder that contains the training filesrasa_training_files. These are the files you will give to the model to be trained on. If you want to try for a custom training just replace the files but respect the naming of the files.Now in Windows (wherever you downloaded this repo) you can execute
run_ai.batby double clicking on it. This will run both AI models: riva and rasa (and it also trains rasa with the new provided files)
Note: If having issues executing the scripts it's most likely a path issue. In this case open run_ai.bat or run_rasa.sh and adapt the paths accordingly.