Offline Installation
This page will assist you in setting up the EESP software on your own infrastructure disconnected from the internet. This is the recommended method for organizations with stricter security requirements. This method is more complex and will require some technical knowledge about networking. This page will provide an example of how to set up the software, but you are free to expand on this to fit the needs of your organization better.
Requirements:
A windows computer: This Windows will act as a server for the EESP Console and the multiplayer sessions. We recoomend at least 16 GB of RAM.
This computer will need WSL and Docker installed. Please follow the latest instructions on these pages.
A WI-FI network: This network does not need to be connected to the internet. The computer and headsets need to be connected to this network. Reminder: If the network has no internet the headsets will not automatically connect to the WIFI. You will need to reconnect the headset every time after booting it. Unfortunately this is out of out control.
Note: For the installation the network will need internet connection! After installation is completed you can disconnect the network from the internet.
A static IP address: We strongly recommend you set a static IP address for the PC. Either on the router DHCP settings (recommended) or in the windows adapter settings.
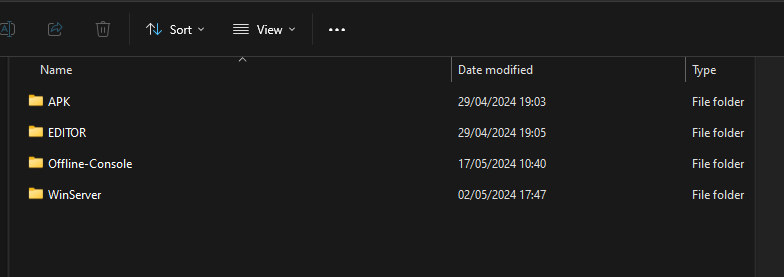
Download all the software: Download all the latest versions of the software. We recommend you place them all in 1 folder like the image below. (the files names might change over time)
Example Setup
This sections will provide a simple example of how the EESP software can be set up on your infrastructure.
Step 1: Configuring the Console
Reminder: The initial installation required internet connection. You can disconnect the internet after everything is installed.
Some settings in the console need to be updated before you can launch it.
Open the file Offline-Console folder.
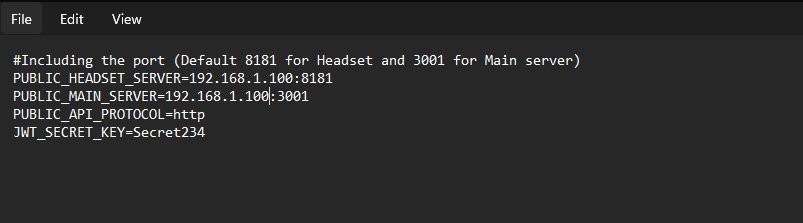
Open the .env file. The first lines of the file contain some options that need to be configured. If the .env file in not visible, make sure hidden items are enabled in your file explorer settings.
- JWT_SECRET_KEY: This should be a combination of letters, numbers and symbols. If you change the default value make sure to copy is somewhere because you will need it later.
- DEFAULT_EMAIL: The email address that will be used for the System Administrator account. Using this account you can create new accounts if desired.
- PASSWORD_EXPIRATION: Its possible to enforce that a user has to change their password after some amount of days have passed. For a fully offline setup we don't believe this is required, but you are free to choose. (-1 will disable this function)

open the .env file in the VERTIgO-froten-end folder.
- JWT_SECRET_KEY: This has to be the same JWT_SECRET_KEY you used in the previous .env file.
Navigate to the Offline-Console folder and open the build.bat file. This will install the console which can take 10 minutes. When the installation has completed you can verify that the console is running by opening the Docker Desktop program on windows and check if all boxed inside the vertigo-full-stack or Offline-Console container are green. 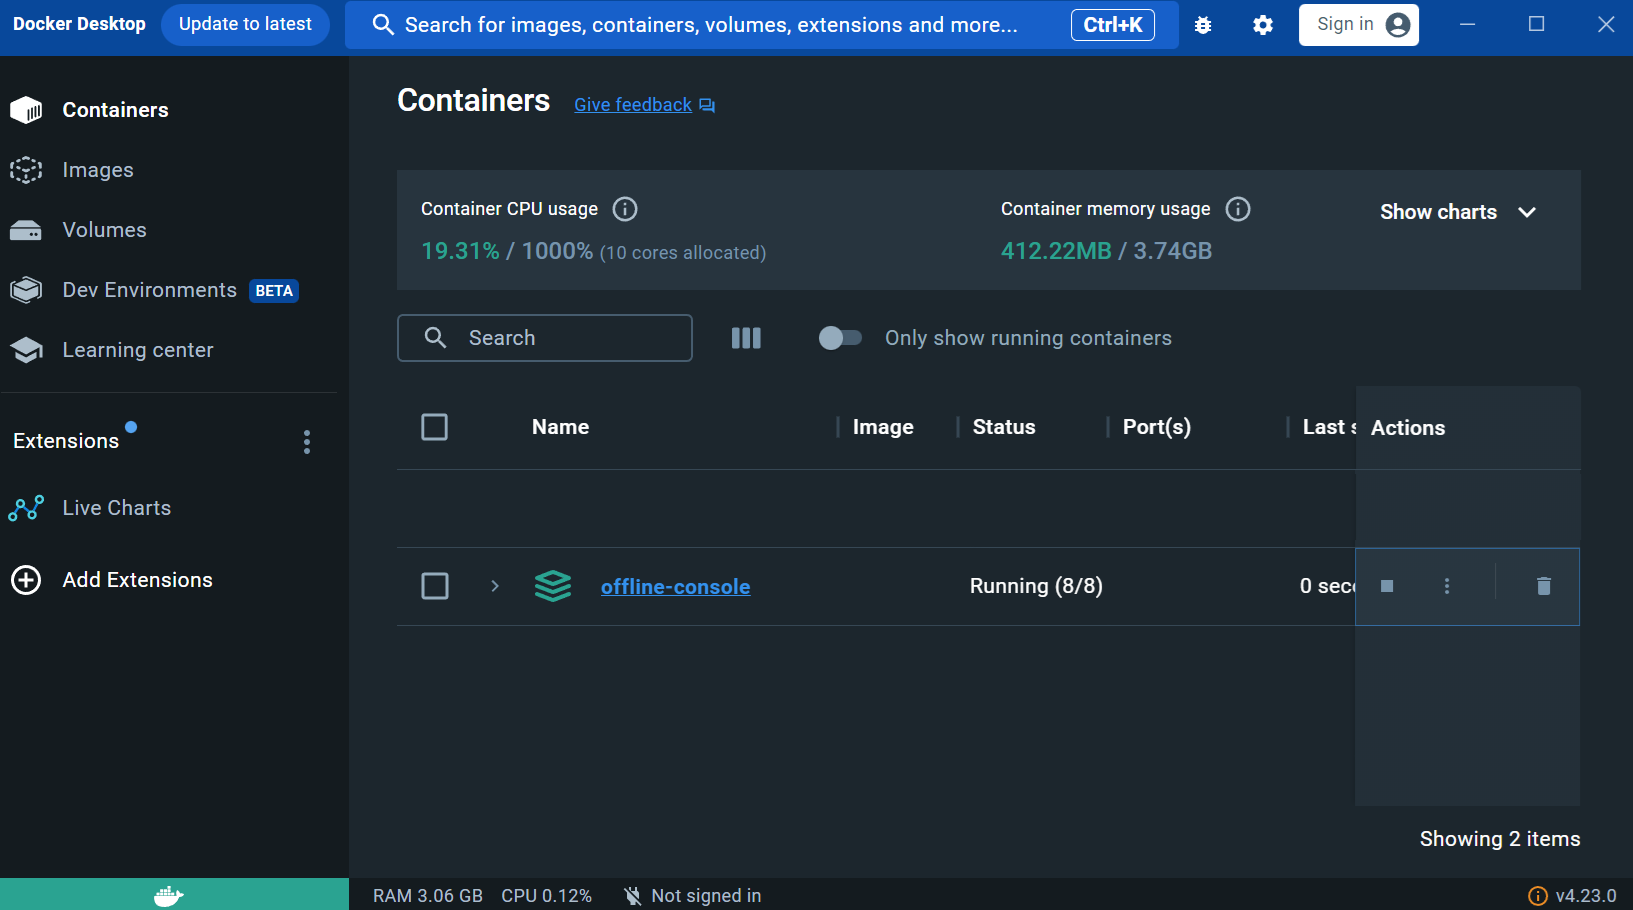
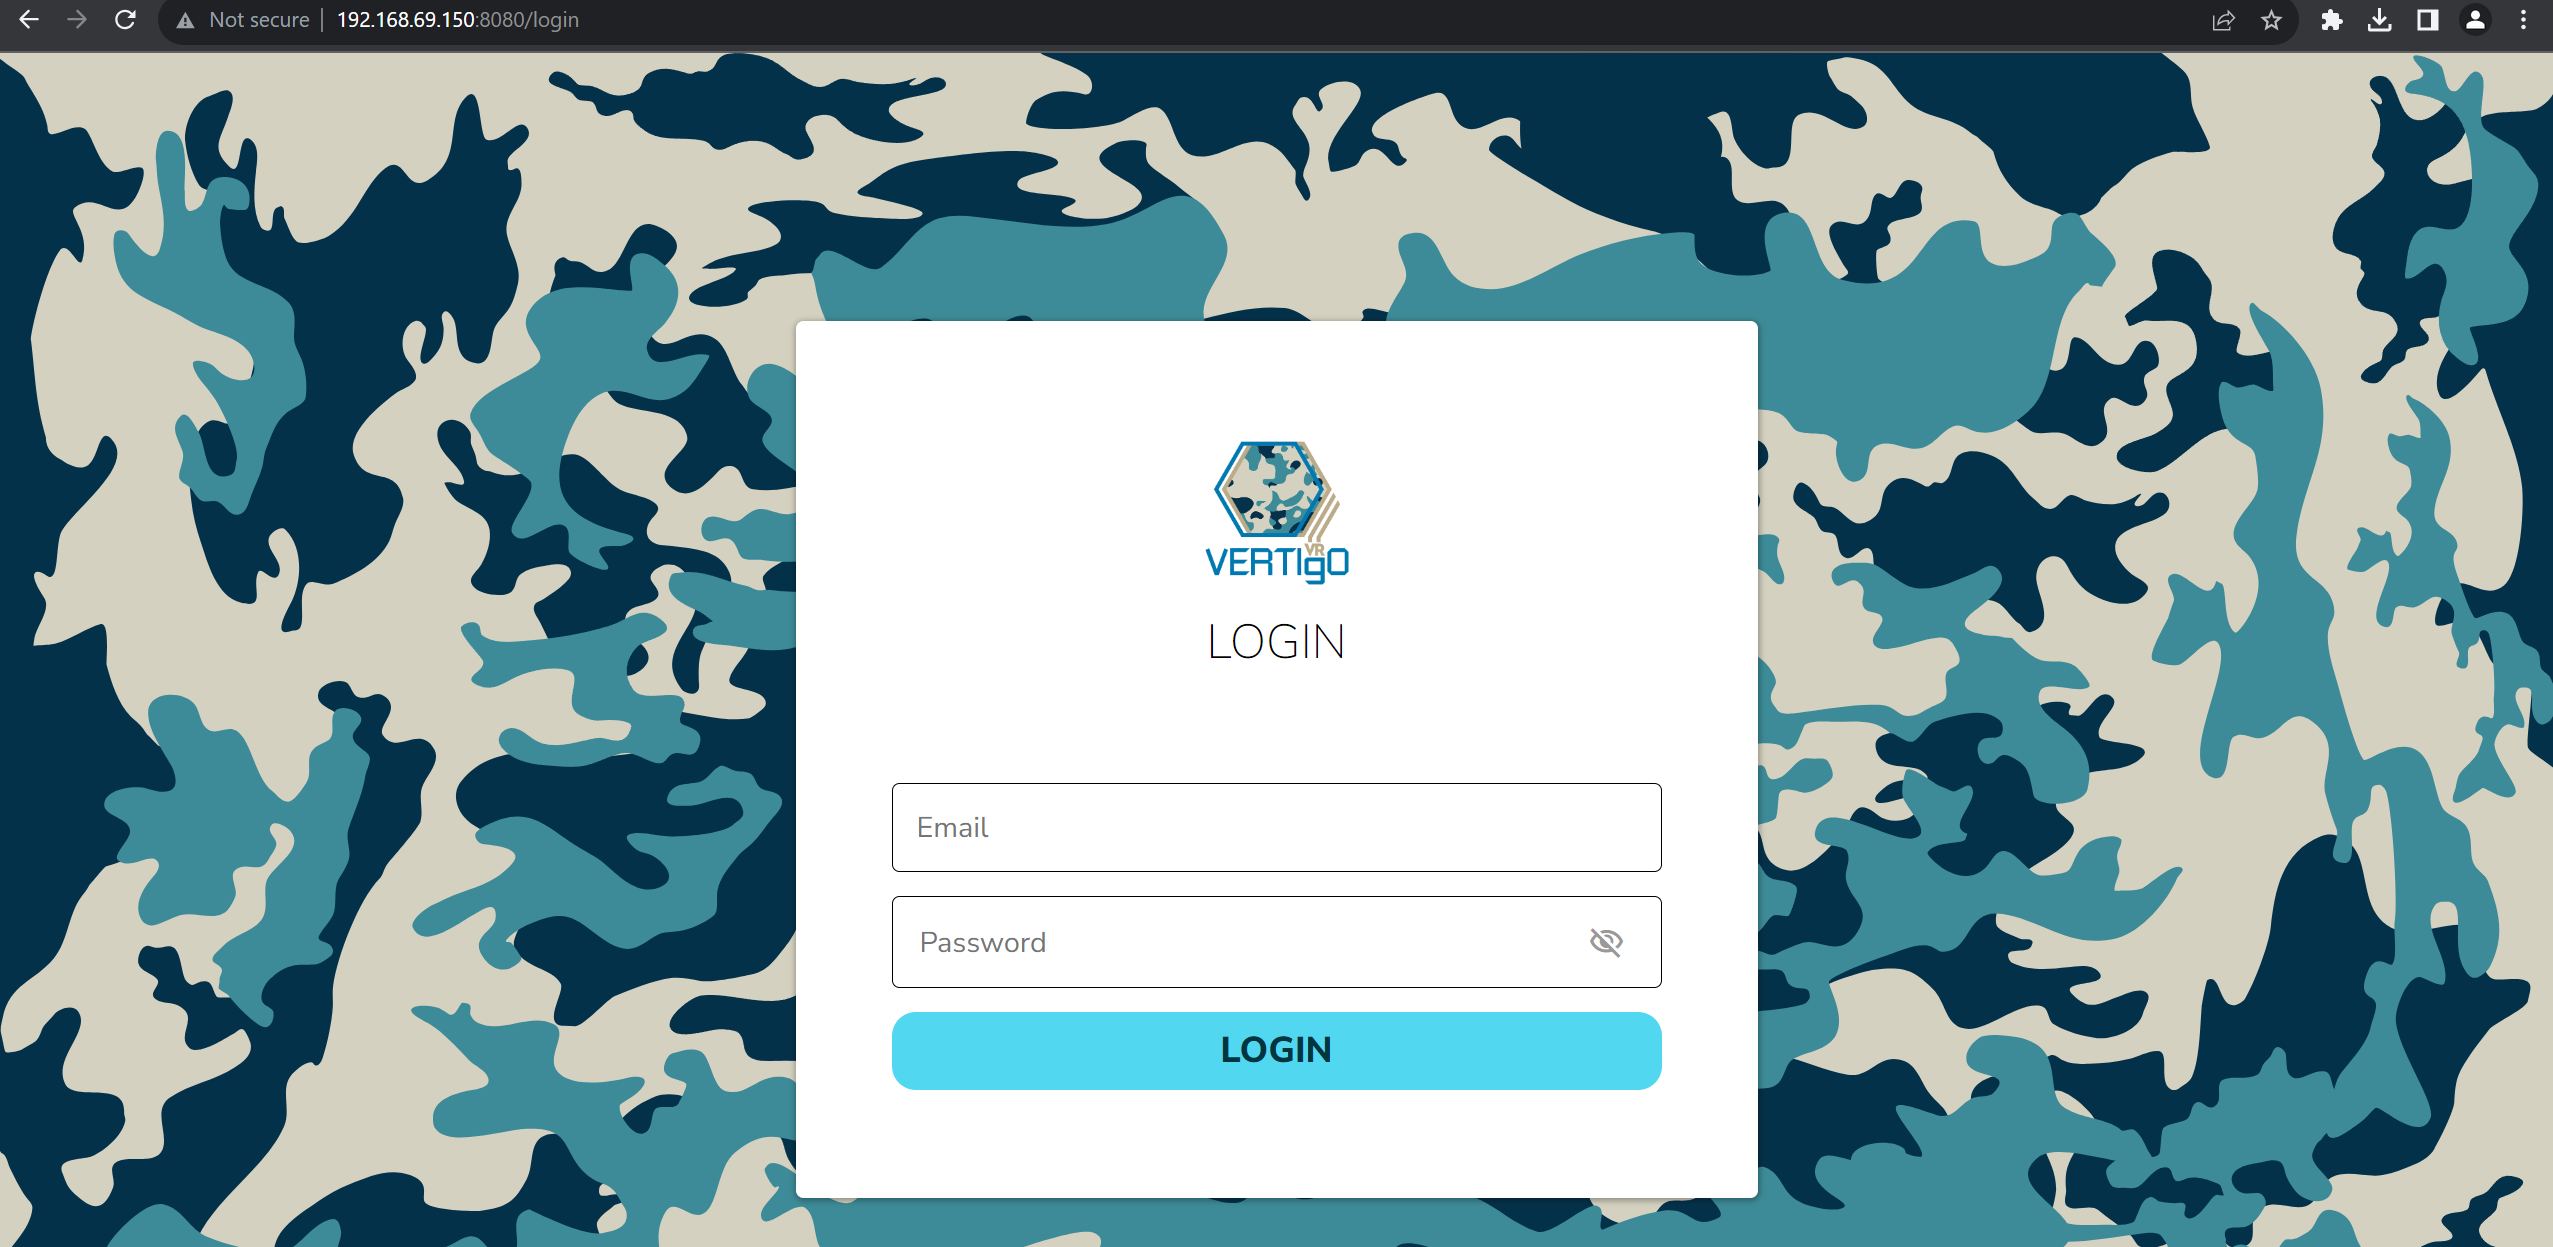
Open your browser and navigate to http://your-ip:8080. If the login screen appears, it is set up correctly.
Step 2: Creating the Admin user
Open your browser and navigate to http://your-ip:3001/seed. This page will generate the user you configured inside the .env file earlier using a random password. Find the random password on the page and copy it to the clipboard. Make sure you don't include the " symbols at the start and end of the password.
Navigate to http://your-ip:8080 to login using the email and random password and follow the instructions to choose a new password.
Step 3: Connecting the editor, headsets and live viewer.
Please follow the same instructions provided on the Online Installation Guide but replace https://vertigo.altheria.com with the static IP address of your PC, https://your-ip.com for example http://192.168.1.100. Return to this page after you completed all steps.
Step 4: Configuring and launching a multiplayer server.
The a multiplayer session consists of a trainees inside the VR application, optionally a trainer of the PC live viewer, and a multiplayer server. The server is the central authority in the session that synchronizes all trainees and 1 multiplayer server is required for every session. Its possible to run multiple servers at the same time to support multiple training session simultaneously for larger training center, but this setup is more complex.
Open the WinServer folder (or WinServer) you downloaded and run the .exe file 1 time. This will create required files on your PC. This will open a black windows with text. Wait a few second. If you see the message "Server is ready!" it was able to connect to the vertigo console.
Save the file and run the .exe file of the Multiplayer Server again. After waiting, the "Server is ready!" should appear.
You can now launch a training inside the Console.
 It's is recommended to restart the server .exe between every training but it's is not required.
This setup will only allow 1 VR training at the same time. It is possible to have multiple trainings at the same time but this will be much more complex on the networking side as well as require virtual machines.
A simpler solutions in having 2 separate networks each with their own dedicated PC and dedicated console.
Starter Scenarios
The dropbox contains some example scenarios for the train and the sewer to help you get started. You can import these scenarios in you console by opening the console and navigating to the trainings page and press "Upload Training".
Troubleshooting
Trainings stops after a few second: If you receive the message "something went wrong" inside the VR training, it is possible the EESP server needs a little more configuration.
Please navigate to C:\Users\(user)\AppData\LocalLow\AltheriaSolutions\EESP_V2 and open the config.txt file. Insert you static IP address after IP_OVERWRITE= like so.

Relaunch the EESP_V2.exe inside the WinServer folder and try gain.
Contact
If you are experiencing issues you can contact: