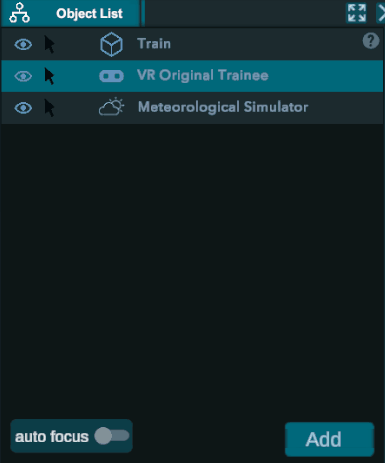
Object List
1.Overview
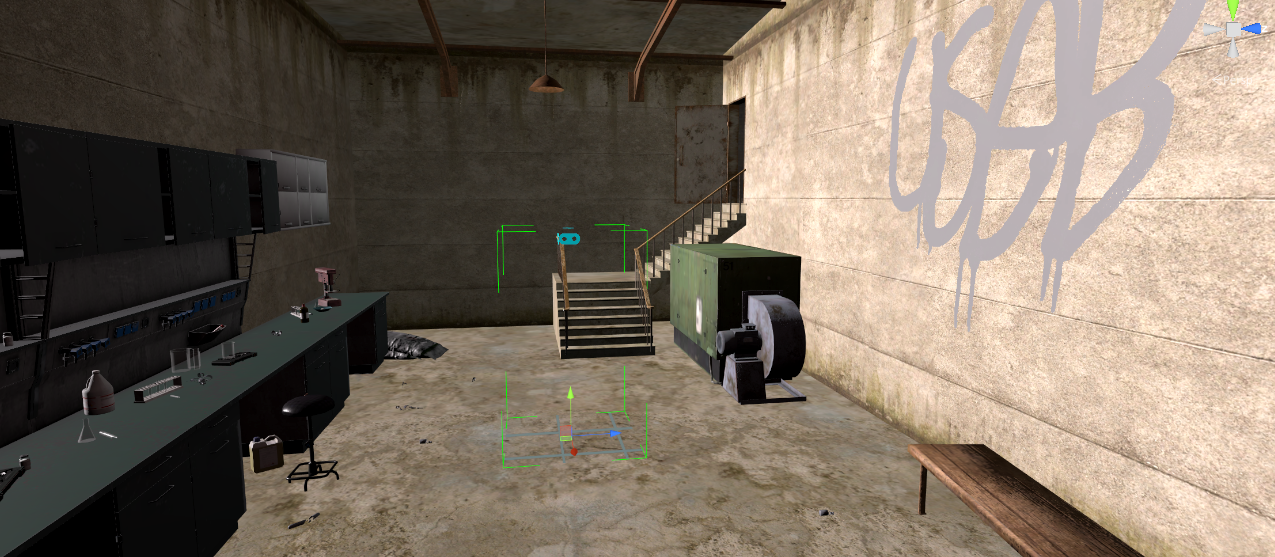
The Object List is a list of all the elements that are accessible inside the 3D view. You can select them, and all the elements related to it will appear in both the Scene view and the Properties.
If an object of the list is gray, that means that it is inactive inside the current Node you are on.
It is possible to move an object from the list into another to group them. This is useful for objects that need to move together.

1.Objects can be viewed inside the Sceneview.
2.They can be selected or not in the Sceneview.
3.You can see the type of the object and its name in the Scene view.
2.Pre Created Elements
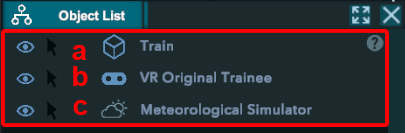
a.Environment:
Represent the environment you are in. No action can or should be done on it.
b.Vr trainee :
Represent the trainee. It has a unique set of parameters that need to be set up for the training to function correctly.
Inventory:
A list of all the tools that the trainee can access inside the VR.
You can also use them for specific behavior(See Properties section)
Some tools have specific actions inside training.
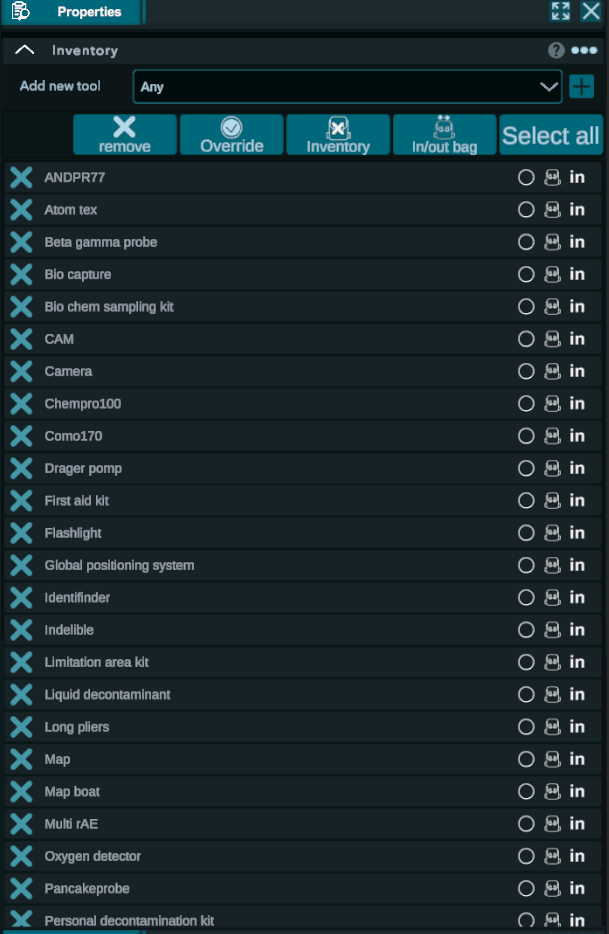
Name of the tools
Override: It has to be ticked if you want the inventory to be changed on the specific Node you are currently on.
Bag: Define if the tools can be found in the trainee bag. If crossed it means it is not.
In/Out: Force the tool to be inside or outside of the inventory. Outside means that it can be found in the environment.
Tips: I suggest starting by removing everything and then add the one useful for your training.
Character look properties:
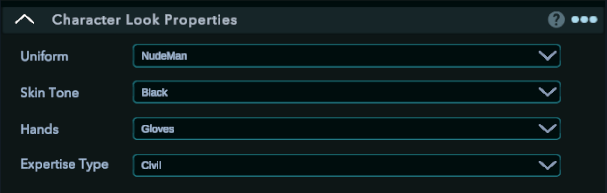
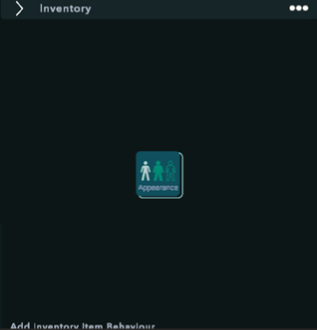
Configure the base genre, skin, and suits of the avatar. These settings are visible only on the first Node and serve a purely immersive purpose, with no direct impact on the training. You can modify them during the training using the "Appearance" behavior, which replaces this tab when you are not on the first Node.
Trainee Role:
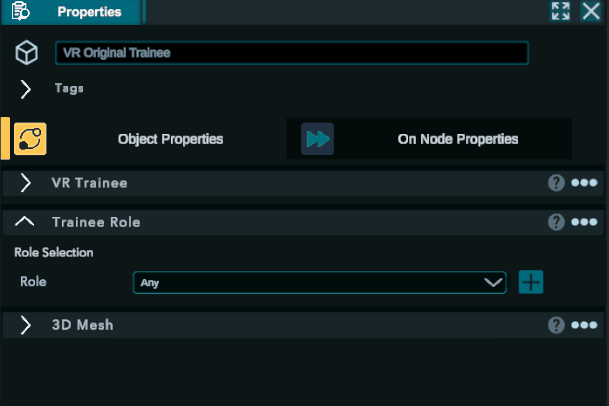
Each VR trainee must be assigned a role in order for a trainee to be launched from the console.
Roles are utilized in the behavior tab to assign them to a specific trainee.(See Properties tab)
Meteorological simulator:
Coming with EESP Version 2
3.Add Element
It is possible to add an element with the add button.
Empty: Empty movable object. Mainly used to create behavior.
Cube: Add cube
Add sphere: Add sphere. tips: Used a lot for validation and selection. (touch behavior)
Plane: Add plane. tips: Use if a collider is missing
Cylinder: Add cylinder
Capsule: Add capsule.
Text: Add text. It possesses a text panel in Object Properties where you can write text or connect existing one from the Datasheet. (see more in Properties section).
Waypoint chain: coming with Ai update
Trainee: Add a VR trainee to the scene to create a multiplayer training.
Particles emitter: Create a source of particles for FX effects such as fire, smoke,... (See Properties section).
4.Auto focus
If you activate the autofocus toggle in the Object List, this option will automatically focus the scene view onto the last object you select. You can also do it manually by clicking the top left button of the scene view to focus on the selected object.
![]()
